Guide to Verkada Security Cameras Installation: Setup, Best Practices, and Requirements in San Jose, CA
ABOUT
Modern security infrastructure in San Jose, CA demands more than traditional surveillance systems. Organizations seeking enterprise-grade protection increasingly turn to cloud-based solutions that combine advanced hardware with intelligent software management. Verkada security cameras represent a significant evolution in this space, offering a unified platform that simplifies deployment while delivering sophisticated monitoring capabilities.
Installing Verkada cameras differs substantially from conventional CCTV systems. Rather than relying on local recording devices like DVRs or NVRs, Verkada employs a hybrid cloud architecture where each camera stores footage onboard while connecting to cloud-based management software. This design eliminates single points of failure and enables remote access from any location.
This comprehensive guide walks through every aspect of Verkada camera installation, from initial planning and network preparation to physical mounting and system configuration. Whether you’re a security professional managing a multi-site deployment or a business owner evaluating cloud surveillance options, you’ll find practical insights to ensure successful implementation.
Understanding Verkada Camera Architecture
Verkada cameras operate on a distinctive hybrid cloud model that sets them apart from both traditional on-premises systems and fully cloud-dependent solutions. Each camera includes onboard storage capacity ranging from 30 to 365 days depending on the model, ensuring continuous recording even during internet outages. The system simultaneously sends encrypted metadata and thumbnails to the cloud, consuming minimal bandwidth at rest.
This architecture delivers several operational benefits. Organizations maintain footage locally for immediate access while benefiting from cloud-based search, analytics, and remote viewing capabilities. According to Verkada’s technical documentation, cameras in steady state consume only 20-50 kilobits per second of bandwidth, allowing deployments of over 100 cameras on a 2 Mbps connection.
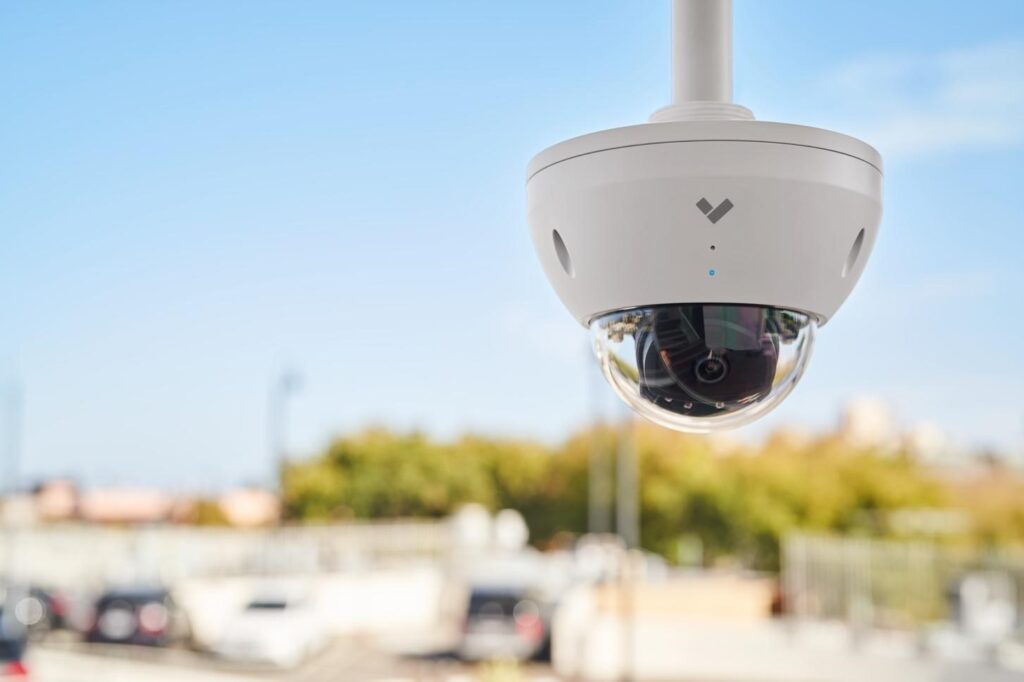
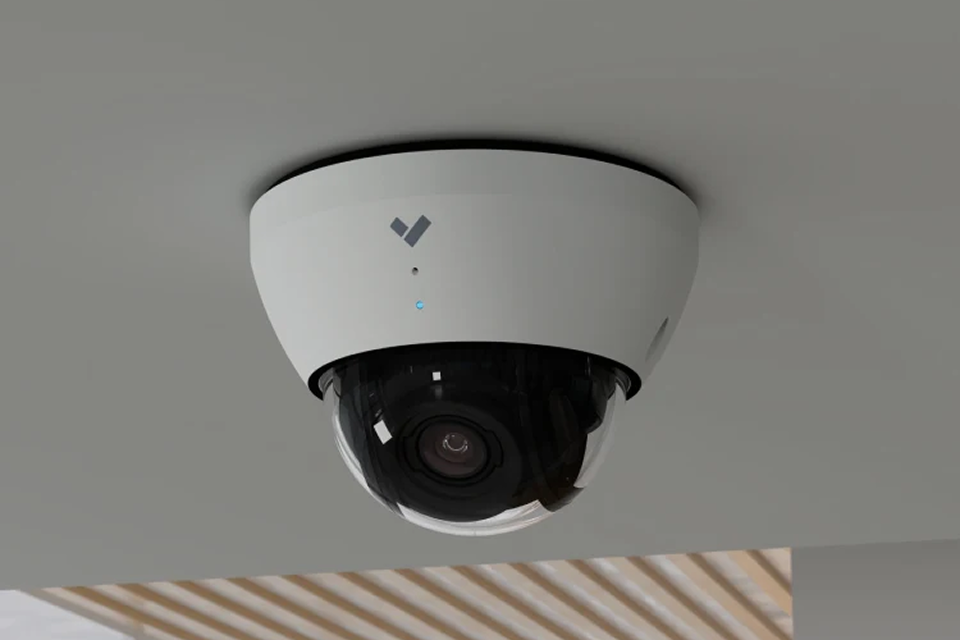
Verkada offers multiple camera series designed for specific surveillance needs. The Dome series provides vandal-resistant monitoring suitable for retail, education, and healthcare environments. Bullet cameras deliver weatherproof exterior coverage with extended IR ranges. Mini dome cameras offer discreet indoor monitoring, while fisheye models provide 180-degree panoramic views. Multisensor cameras combine multiple lenses in a single housing for comprehensive area coverage, and PTZ cameras enable remote pan, tilt, and zoom control.
Each series includes both indoor and outdoor variants, designated by model numbers ending in standard designations for environmental ratings. For example, CD62-E represents an outdoor dome model, while CD52 indicates the indoor equivalent.
Unlike conventional IP cameras requiring separate video management software and recording infrastructure, Verkada integrates these functions into a single platform called Command. This cloud-based interface provides unified management across all devices regardless of location. The system includes built-in video analytics powered by edge processing, eliminating the need for separate analytics servers.
Verkada cameras also feature automatic firmware updates delivered through the cloud, ensuring devices always run the latest security patches and feature enhancements without manual intervention. This managed approach significantly reduces IT overhead compared to traditional systems requiring individual device updates.
Successful camera deployment begins with clearly defined security goals. Organizations must identify specific threats they aim to address, whether deterring theft, monitoring access points, investigating incidents, or ensuring compliance with safety protocols. Research from Security Magazine indicates that 34% of burglars enter through front doors while 22% use first-floor windows, informing strategic camera placement decisions.
Document the purpose of each camera location. Will the device monitor general activity, capture facial details for identification, read license plates, or count occupancy? Each objective influences camera selection, positioning, and configuration. High-traffic areas may require cameras with advanced people analytics, while parking lots benefit from models with license plate recognition capabilities.
Conduct a comprehensive site assessment before ordering equipment. Walk through the facility noting critical monitoring areas including entrances, exits, loading docks, parking areas, corridors, and sensitive locations like server rooms or inventory storage. Identify potential blind spots and areas where camera coverage overlaps may be beneficial.
Consider environmental factors affecting camera performance. Outdoor locations require weatherproof models with appropriate temperature ratings. Areas with challenging lighting conditions need cameras with wide dynamic range or infrared capabilities. High-traffic zones with significant motion may benefit from higher frame rates.
Advanced planning tools can simulate camera views and coverage patterns. These modeling applications help determine optimal camera placement, field of view requirements, and mounting heights before physical installation begins. This preparatory work prevents costly reinstallation after deployment.
Determine the total number of cameras needed based on coverage area and security objectives. Factor in future expansion when planning network infrastructure capacity. Calculate required network switch port counts, ensuring adequate PoE budget for all devices plus a safety margin.
Assess internet bandwidth availability at each site. While Verkada cameras operate efficiently with minimal bandwidth at rest, organizations must account for simultaneous video viewing and cloud archiving. A site with 20 cameras might require 5-10 Mbps of upload bandwidth depending on usage patterns.
Consider installation logistics including cable routing, mounting surfaces, and accessibility for maintenance. Older buildings may present challenges with existing infrastructure, potentially requiring conduit installation or wireless gateway solutions where running new cables proves impractical.
Network Infrastructure Requirements
Verkada cameras utilize Power over Ethernet technology, delivering both data connectivity and electrical power through a single Ethernet cable. This approach simplifies installation by eliminating separate power supplies and reducing cable management complexity. PoE also enables centralized power backup through uninterruptible power supplies connected to network switches.
Understanding PoE standards is essential for proper deployment. The IEEE 802.3 specifications define three primary PoE levels. Standard 802.3af PoE delivers up to 15.4 watts per port and powers all indoor Verkada cameras. The 802.3at PoE+ standard provides up to 25.5 watts and is required for outdoor cameras operating in cold weather environments below 16°F where built-in heaters activate. Advanced multisensor cameras require 802.3bt PoE++ delivering minimum 20 watts for full functionality.
Choose network switches that support the appropriate PoE standard for your camera models. Calculate the total PoE budget by adding the maximum power draw of all connected devices. Always maintain a safety margin, as switches perform unreliably when operating at maximum capacity.
Configure switch ports as access ports operating in full-duplex mode. Verkada cameras negotiate power delivery automatically but require proper port configuration to function correctly. If your existing switch infrastructure lacks sufficient PoE capacity, PoE injectors can be inserted between the camera and switch to provide necessary power.
For deployments using existing coaxial cabling infrastructure, converters enable running Verkada cameras over Power over Coax, avoiding expensive recabling projects. Similarly, media converters can adapt fiber optic runs to Power over Ethernet where fiber infrastructure exists.
PoE has a maximum distance limitation of 100 meters (328 feet) from switch to device. This constraint applies to the total cable run including any patch panels or intermediate connections. For cameras located beyond this distance, deploy intermediate switches or consider fiber optic links with media converters.
Use quality Cat 5e or Cat 6 Ethernet cabling for all installations. Inferior cables or improper termination can cause power delivery issues, reduced data throughput, or intermittent connectivity. For outdoor runs, use burial-grade or outdoor-rated cable with appropriate waterproofing at connection points.
Power Requirements and PoE Standards
Physical Installation Process
All Verkada indoor cameras operate on standard 802.3af PoE, drawing between 6-13 watts depending on the model. The CD31 dome camera, for example, requires 8.5 watts typical operation, while the CM42 mini dome draws approximately 6.5 watts. These modest power requirements allow multiple cameras to connect to a single switch without exceeding PoE budgets.
Indoor cameras maintain consistent power consumption throughout their operational lifecycle. The primary variation occurs during firmware updates when cameras briefly draw additional power, though this remains within 802.3af specifications.
Outdoor Verkada cameras require more substantial power delivery, particularly in cold weather deployments. Models like the CB62 bullet camera operate on 802.3af PoE in moderate climates but automatically switch to 802.3at PoE+ when ambient temperatures drop below 16°F (-8.5°C) to power built-in heating elements.
This automatic switching prevents condensation and ensures reliable operation in harsh environments. Network infrastructure must support PoE+ at all outdoor camera locations to guarantee year-round functionality. Failure to provide adequate power results in cameras going offline during cold weather or displaying constant orange status LEDs indicating insufficient power.
The CD62 outdoor dome camera draws up to 13 watts under normal operation and may require 20+ watts when operating in extreme cold. Always consult specific model datasheets for exact power requirements when planning switch infrastructure.
Verkada’s multisensor cameras incorporating multiple lenses in a single housing demand the higher-power 802.3bt PoE++ standard, requiring switches or injectors capable of delivering minimum 20 watts per port. PTZ cameras similarly require PoE++ to power motorized pan-tilt-zoom mechanisms alongside imaging components.
Network switches specify total PoE power budgets alongside per-port capacities. A 24-port switch might deliver 370 watts total PoE power, averaging 15.4 watts per port. However, connecting devices drawing maximum power on all ports exceeds available capacity, causing random ports to lose power.
Calculate actual power draw for your specific camera models rather than assuming maximum values. Build in 20-30% overhead for safety margins and future expansion. If switch PoE budgets prove insufficient, deploy additional switches or upgrade to higher-capacity models rather than overloading existing infrastructure.
Before mounting cameras, gather necessary tools including a number 2 Phillips screwdriver or power drill with Phillips bit, appropriate mounting hardware for your surface type, cable management accessories, and safety equipment for elevated installations. Review the camera-specific installation guide available from Verkada documentation for mounting template and hardware specifications.
Verify camera mounting locations provide unobstructed views of intended coverage areas. Test angles using the Verkada Command mobile app to preview live video streams before finalizing placement. This real-time feedback prevents reinstallation after discovering sight line issues.
Ensure mounting surfaces can support camera weight and withstand tampering attempts. Cameras installed in accessible locations should use tamper-resistant hardware. For outdoor installations, confirm mounting surfaces shed water away from camera housing to prevent moisture intrusion.
Plan cable routes that protect against physical damage and maintain professional appearances. Use conduit for exposed cable runs, especially in outdoor environments or industrial settings. Secure cables at regular intervals using appropriate clips or cable ties, avoiding excessive tension that might damage conductors.
Maintain separation between network cables and high-voltage power lines to prevent electromagnetic interference. Leave adequate service loops at both camera and switch ends for maintenance access. Label all cables clearly indicating camera locations and network port assignments.
For aesthetic installations in finished spaces, route cables through walls or ceilings when possible. Use cable management accessories like paintable raceway for surface-mounted runs in visible areas. Outdoor installations require weatherproof cable entry points with proper sealing against moisture infiltration.
Verkada dome cameras ship with integrated mounting bases. Begin by running the Ethernet cable to the mounting location. Remove the dome cover by rotating counterclockwise or releasing retaining clips depending on model. Connect the Ethernet cable to the camera’s port, ensuring the connector clicks securely into place.
Position the mounting base against the ceiling or wall, aligning with pre-drilled holes if using the provided template. Mark mounting screw locations and drill pilot holes appropriate for your mounting surface. Concrete or masonry installations require anchors while wooden surfaces accept screws directly.
Secure the base using provided mounting hardware. For outdoor installations, ensure the cable entry point uses the appropriate gasket or gland to maintain weatherproof seals. Adjust the camera angle as needed for optimal field of view, then replace the dome cover and verify it locks securely into position.
Bullet cameras typically mount to junction boxes or directly to surfaces using included mounting brackets. Position the mounting bracket at the desired location, mark screw holes, and secure firmly. Thread the Ethernet cable through the cable entry point, connecting it to the camera’s port.
Attach the camera to the mounting bracket using provided hardware. Most Verkada bullet cameras include three-axis adjustment mechanisms enabling pan, tilt, and rotation positioning. Use the mobile app to preview the view while making adjustments, ensuring proper framing of the monitored area.
For outdoor bullet installations, pay special attention to cable entry sealing. Use the included cable gland and tighten appropriately to achieve weatherproof ratings. Ensure the desiccant pack is installed inside the camera housing to prevent condensation buildup that could fog the lens.
After physical mounting, verify each camera powers on correctly. A flashing orange LED indicates the camera is performing automatic firmware updates, typically completing within 3-5 minutes. The LED should change to solid blue once the camera successfully connects to Verkada Command.
Confirm camera views through the Verkada Command mobile or web interface. Check that infrared illuminators function properly in low-light conditions without glare or reflection issues. Outdoor cameras should exhibit proper water sealing with no moisture visible inside the housing.
Test camera stability by applying gentle pressure to ensure secure mounting. Verify cable connections are tight and properly secured. Document final camera positions, mounting heights, and fields of view for future reference.
Adding Cameras to Verkada Command
Creating Your Organization Structure
Before adding cameras, establish your organizational structure within Verkada Command. Organizations represent the top-level entity managing all devices and users. Sites function as logical groupings within the organization, typically corresponding to physical locations like individual buildings or campuses.
Adding Cameras Using Order Numbers
Cameras can be added to your Command account before or after physical installation, though best practice recommends adding them beforehand for security purposes. Navigate to the Devices page in Command and select “Add Device.” Choose the camera option and enter the order number from your packing slip or order confirmation email.
Initial Device Configuration
When cameras first appear in Command, verify they are assigned to appropriate sites. Cameras can be moved between sites after addition if initial assignments prove incorrect. Assign descriptive names to each camera indicating location and coverage area, such as “Main Entrance – East” or “Parking Lot – North Corner.”
Verifying Connectivity and Permissions
After adding cameras, confirm users have appropriate access permissions. Verkada supports granular permission models allowing different users to view specific cameras, sites, or features. Security personnel might access all cameras across an organization while individual department managers see only cameras covering their areas.
Verkada security camera installation represents a paradigm shift from traditional surveillance systems. The hybrid cloud architecture, intelligent edge processing, and unified management platform deliver enterprise-grade security with dramatically reduced complexity. Successful deployments require careful planning, proper network preparation, and attention to installation best practices.
Organizations benefit most from Verkada when treating installation as a holistic security project rather than simply mounting cameras. Thoughtful site assessments, clear security objectives, and proper stakeholder training ensure systems meet operational needs. The technology’s sophistication enables powerful capabilities, but realizing those benefits demands appropriate implementation.
Professional installation services provide valuable expertise for organizations lacking in-house resources or deploying complex multi-site systems. However, smaller deployments can succeed with knowledgeable internal teams following manufacturer guidelines and industry best practices.
As physical security continues evolving toward cloud-based platforms, Verkada exemplifies modern approaches prioritizing ease of use, remote accessibility, and intelligent automation. By following the guidance in this comprehensive installation guide, organizations can confidently deploy Verkada cameras that deliver reliable, high-performance surveillance meeting today’s demanding security requirements.
The investment in proper installation pays dividends through reliable operation, reduced maintenance overhead, and security infrastructure prepared for future challenges. Whether protecting a single facility or managing global enterprise deployments, Verkada security cameras offer scalable solutions when implemented with attention to technical requirements and operational considerations.
Learn More From
Frequently Asked Questions
While Verkada cameras are low-voltage devices not requiring licensed electricians in most jurisdictions, professional installation is strongly recommended for comprehensive deployments. System integrators provide expertise in optimal placement, network configuration, and structured cabling best practices. Small installations of 1-5 cameras in straightforward environments may be suitable for knowledgeable DIY installation if you have networking experience and proper tools.
Verkada cameras consume minimal bandwidth at rest, typically 20-50 Kbps per camera when not being actively viewed. This allows over 100 cameras to operate on a 2 Mbps connection in steady state. Bandwidth increases when viewing footage, requiring approximately 300-600 Kbps for standard quality or 1-3 Mbps for high-quality streams per camera. Sites should plan for 5-10 Mbps upload bandwidth per 20-30 cameras accounting for typical viewing patterns.
Opting for professional installation means that our expert team will ensure the seamless functioning and optimal setup of cutting-edge security systems. This guarantees that every aspect of the surveillance system is perfectly integrated, providing superior protection and robust security coverage.
Verkada cameras continue recording locally to onboard storage during internet outages. However, cloud-dependent features like remote viewing, real-time alerts, and Command platform access become unavailable during connectivity loss. Once internet service resumes, cameras automatically sync recorded footage to the cloud. This hybrid architecture ensures no footage loss during network disruptions while maintaining core recording functionality.
These IEEE standards define power levels delivered over Ethernet cables. Standard PoE (802.3af) provides up to 15.4 watts and powers all indoor Verkada cameras. PoE+ (802.3at) delivers up to 25.5 watts and is required for outdoor cameras in cold climates where built-in heaters operate. PoE++ (802.3bt) provides 25+ watts and is necessary for advanced multisensor cameras and PTZ models with motorized components.